The Pinbox Pinhole Camera
It’s not a secret I love pinhole cameras, and what I love even more is making pinhole cameras, but if you are not as adventurous in the creating part Hamm Camera company has the solution.
Robert Hamm of the Hamm Camera Company has created another wonderful camera. He started with the successful Nubox1 box camera and now his most current camera is the Pinbox. Unlike his first camera and in the vein of many pinhole cameras you assemble this one yourself.
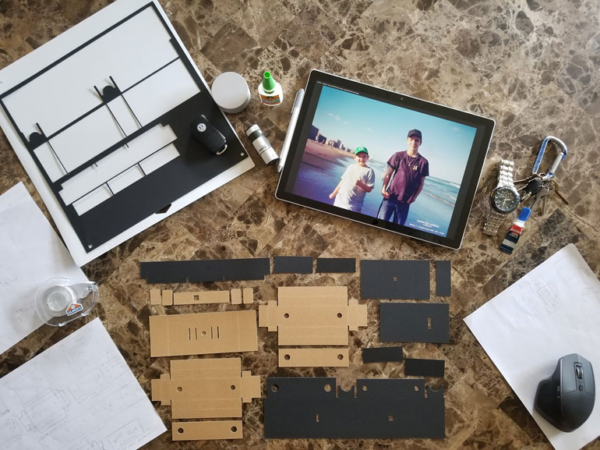
The kit comes to you in a nice sturdy envelope and you get all the parts and pieces you need to make a 120 film size pinhole camera. What you will find in the envelope is the kraft board pre-cut and scored pieces, spool keys, winding keys, and of course a precision pinhole mounted on a disk for easy handling. Also is the instruction sheet with basics and online links for instructional videos. What you will need are various types of glue and adhesives, a roll of film and a take up 120 spool. WAIT if you order from FPP a take up spool is included!
The assembly is not difficult but I fully recommend watching his assembly video first. I actually watched the video before mine arrived and purchased the exact glues he recommended, he states the reason he uses certain types and the fact that not all are needed but why each work best for that particular step.
above: This video is about building PinBox for the first time.
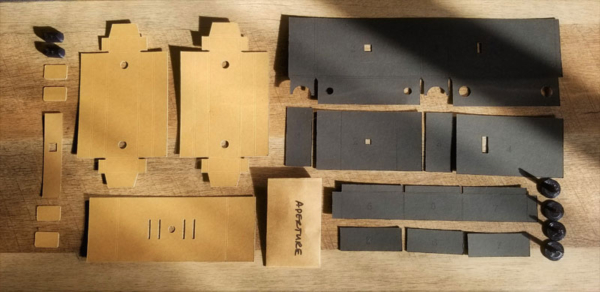
When you get your kit you will notice that there are kraft brown colored and black pieces (pictured above). You can cover or draw, marker or paint the kraft brown pieces or make it waterproof for sweaty hands. I planned how I was going to personalize mine and had those items purchased and waiting before it arrived. Think about getting of couple of these for kids and turn them loose on designing the exterior of their cameras. Get them involved, get them excited, keep them using film.
It is estimated to take 45 – 60 minutes to assemble. My camera took a little longer to assemble, I was encouraged by Robert’s DIY and be creative attitude. I glammed mine up and covered it with a stary night print paper, then embellished it when it was finished. I followed along the instructional video while I was building my camera. Finished it’s the size of a smaller compact camera, solid and strong as the 120 spools help with the structural integrity. My only modification was to enclose the spool holders between the camera obscura and the bottom of the camera housing, this way I will never loose them and it eliminates a chance of a light leak. Just remember not to get any glue close to them as they have to be able to turn. I placed spools inside the camera to hold them in perfect placement before gluing on the bottom of the camera.
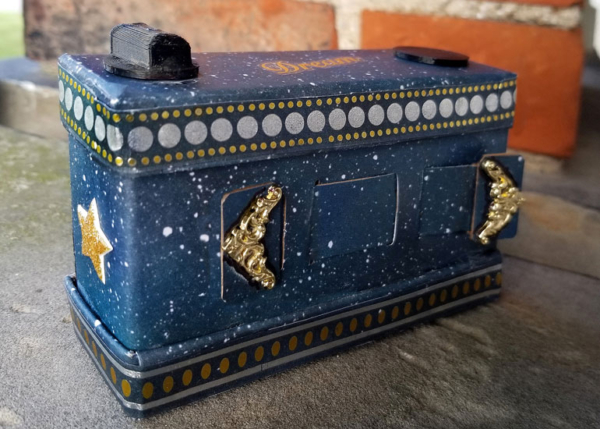
above: Leslie’s “glammed up” PinBox!
below: Video – How to customize your PinBox
Using this camera is like using any pinhole camera, the exposures will be longer than traditional cameras. It needs to be stable and still while exposing. Robert recommended a cheap clamping style cell phone holder to help attach it to surfaces or tripod. I myself reverted back to my cardboard pinhole days and used a rubber band to attach it to my tripod head. When not using the rubber band / tripod trick I would slide the lens cover open while I had my finger placed over the lens area, place my camera on a stable surface and when I felt it was not moving I would remove my finger from the lens. When my exposure was done I would place my finger over the lens and then I could freely hold the camera and slide the cover back over.
To expose your 120 film, I used a light meter app on my phone that gave me my exposure times for the 30mm, f/200 version lens and verbally counted my exposure. You can also use the Black Cat Exposure meter (link below) or a standard light meter if it allows you to use pinhole sizes. It is fun to use and makes amazing images all for under 30 bucks! I highly recommend getting one of these and building your own pinhole camera, it’s not only is fun but satisfying that you built it.
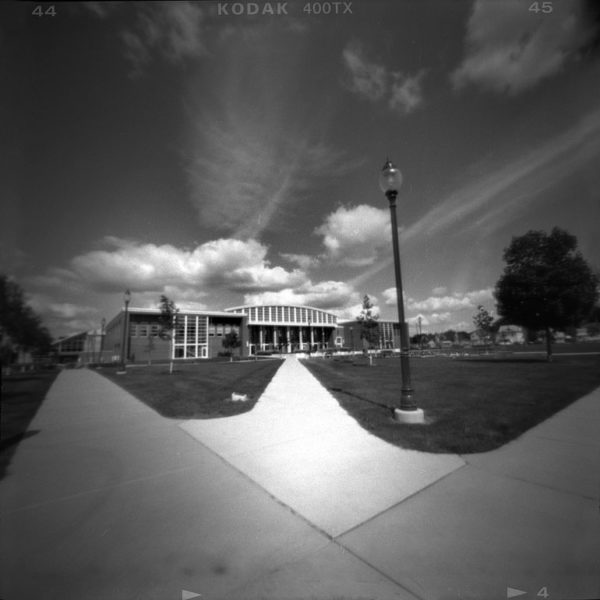
above: PinBox image by Leslie Lazenby – Kodak Tri-X 120 film – Approx 3 second exposure.
I was lucky enough to meet Robert Hamm and his family in Findlay this last summer at the FPP Walking Workshop III. What a great guy with a wonderful passion about making film photography fun. If you have questions about his camera, building or otherwise, Robert Hamm is very responsive to messages. I have included his contact links below.
Thanks to Robert Hamm for making another classic and fun film camera!
Recommended light meter for your PinBox – Black Cat exposure meter: https://filmphotographystore.
