For the past year playing around with pack cameras and even some
“Hasselroids” (Hasselblad Polaroids), I’ve been experimenting with whatever film I could get my hands on. The list is short, but thanks to the folks at Fuji, The Impossible Project, and even here at the FPP Store, the options are plentiful, from color, black and white, and even some specialty films. But above them all, my #1 favorite pack film has been Polaroid Sepia. It’s not the easiest film to shoot, being rated at 1500 ASA, but when you get it right, man do those shots shine!
My first pack of this was bought at The Impossible Project’s NYC Space back last October. As of this posting, there’s still some Polaroid Sepia available on The Impossible Project’s Online Store. Only having the Hasselblad on hand, it was only natural to throw some in the NPC Polaroid back and get shooting! At the time, it never ocurred to me that 1500 was an odd ASA rating, I just metered out the shot with my trusty old Kiev 88 Metered Viewfinder and went to town. Sometimes it feels like a waste loosing a bit of the 3 1/4 x 4 1/4 image, but the extra sharpness really makes it worth while.
The next big challenge came when I first got my Polaroid Automatic Land 420 camera. There are only two settings on this thing! I had the choice of either 75 for Color, and 3000 for B&W. What to do?! No worries, everybody, much experimenting has been done and many a pack have been tested to give you this detailed account. Your results may vary, but here’s what I’ve found to work best for shooting Polaroid Sepia in a variety of lighting situations.
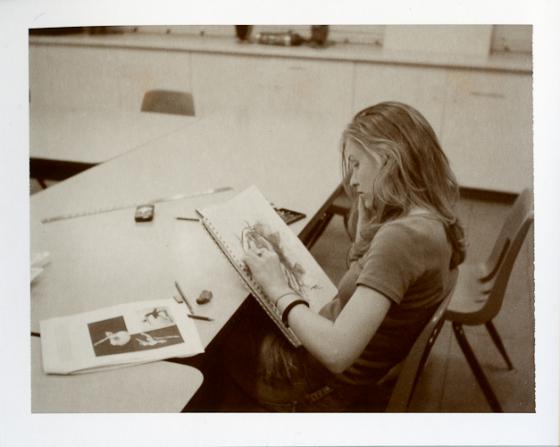
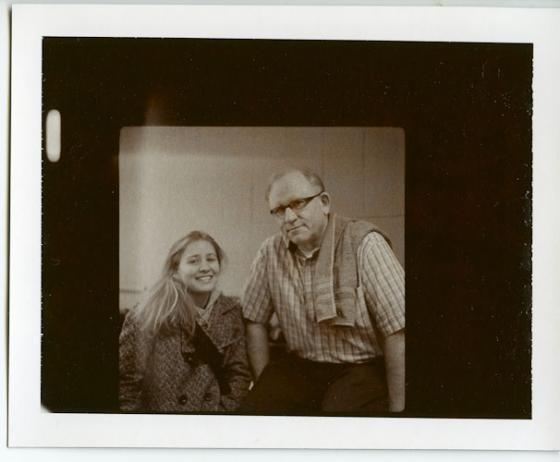
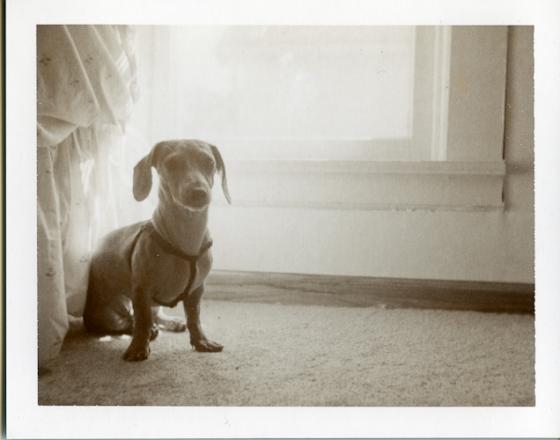
Indoors: Set the ASA to “Color” or 75, and turn your Lighten/Darken dial all the way to Darken. This will work well with natural light in a fairly well lit room, seen above. By setting the darken dial this way, you’re forcing the camera to open up its aperture, but shortening the exposure time roughly 2 stops. From 75/100 ASA, that’s ~400. Backlit situations make for an even sharper, shorter exposure; see below.
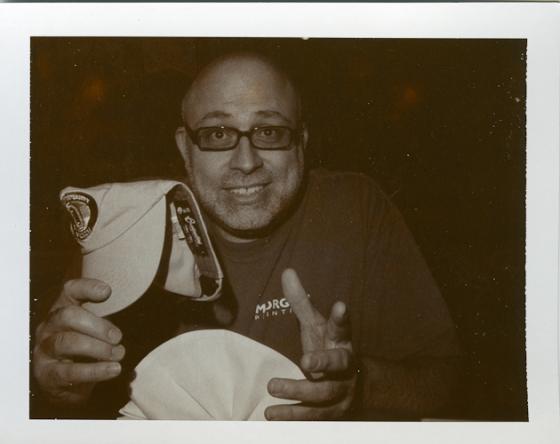
Indoors w/ Flash: Pretty much the same as with natural light, just make sure to have the power of your flash at no more than 1/4 to 1/2 power. If you want to shoot it like you would Fuji FP-3000B, instead set the camera to “B&W” or 3000, turn the dial one stop to Lighten and shoot the flash full power, seen below.
Outdoors: Easily the hardest environment to shoot a high speed pack film, one should treat the outdoors shots like 3000 speed film. Set the camera to “B&W” or 3000, turn the dial one stop to Lighten, and shoot away. If the sun is to your back, you’ll have nice, crisp sepia tones throughout. Shoot into the sun, on the other hand, and you’ll be left with a mess, see below. In open shade, turn the dial all the way to lighten, to guarantee you’re getting enough light. At sunrise/sunset, it’s best to treat the film as if you were indoors, by setting it to “Color” and then Darken.
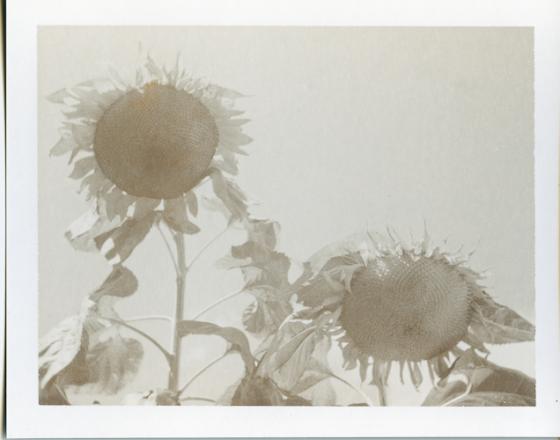
When you’ve shot it just right, Polaroid Sepia will have nice, smooth brown shadows and soft, off-white highlights, and plenty of sharp mid-tones in between. So get out there and breathe some new life into your pack film camera with some Polaroid Sepia today!
Have fun, and long live film.