Film Photography Podcast – Episode 192 – July 15, 2018
Topics: Minolta Hi-Matic G, What is Panchromatic Film, Additive Color, Listener letters and More!
DOWNLOAD (Right Click, Save As)
[podbean type=audio-rectangle resource=”episode=ujyxk-953218″ skin=”1″ auto=”0″ height=100 ]
Notes By Alex Luyckx
Get into your summer grove with the Film Photography Podcast and joining Michael Raso in the studio today is Mark O’Brien, Leslie Lazenby, and Mat Marrash! On the table today is the Minolta Hi-Matic G, Additive Colour, Orthochromatic Film, Listener Letters, and so much more! So sit out on your dock, enjoy a Mr Brown Iced Coffee and tune into the show (what show!).
Hi-Matic – A Point-And-Shoot for the 70s
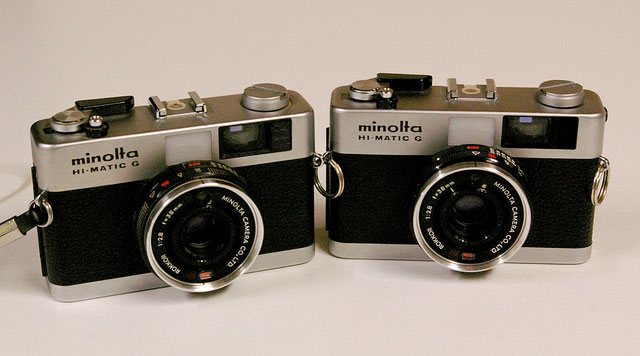
Mark has a camera to share with us on the show today and that is the Minolta Hi-Matic G. Built in the mid-1970s the Hi-Matic series itself dates back to the 1960s, but the G was a radical departure from the fixed lens rangefinders of the past. The G has a zone focus lens, but decent specs a Rokkor 38mm f/2.8, full auto-exposure without any manual options it’s a point-and-shoot. Of course, Mark does have a warning for those looking for the Hi-Matic G, they are getting on in age and are electronic cameras so they’re more likely to fail. Now they do take a battery, a mercury cell, but they don’t mind a silver cell there’s no real difference in the exposure with the 0.2-volt difference between the two batteries. Mark considers this a half-decent camera something to just toss in the camera bag for something different to play with!
Black & White Madness!
So Leslie has a rather big piece of knowledge for all of us and it’s on how our black & films see colour. She is, of course, talking about the differences between Panchromatic, Orthochromatic, and Monochrome films. Think about this, if you’re taking a picture of someone with red lipstick, depending on the film those lips can be rendered between light grey and jet black, it all depends on the film. So Leslie is going to break it all down for us. Back in the early days of photography, most photography emulsions were orthochromatic, sensitive to either blue or green on the visible light spectrum, and did not see a red light at all. Red would be rendered as black. The advantage was that you could load the film and develop by inspection under a red safelight. This gave the movie industry some issues as blue skies would render white and skin tones way too dark. Suddenly you saw the rise of filters to help in viewing the area before filming and a shift in the use of makeup to help with skintones, and the arrival of professional makeup artist onto the movie set and the stuff they used was nasty a mixture of talc and lead known in the biz as greasepaint.
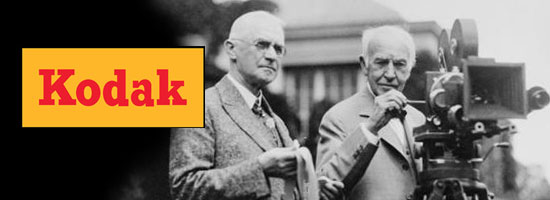
It would be a German, Hermann Wilhelm Vogel, in 1873 who would begin to add different sensitising dyes into the film emulsions to extend the sensitivity to different colours on the spectrum. This work would be continued by Josef Marie Eder in 1884, and by 1906 a new style of an emulsion, panchromatic would be available, which was sensitive to all light on the visible spectrum. The motion picture industry did not change over to the new panchromatic film quickly. The cost and radical change in how it lit, shot and made up the actors. It wasn’t until Eastman Kodak came along 1913 with a special order (SO) panchromatic film stock that the motion picture industry began the slow movement away from the traditional orthochromatic films to panchromatic. Originally the panchromatic films were used mostly for exterior shots. When Eastman introduced the Kodak Panchromatic Cine Film in 1922 leading to the feature film
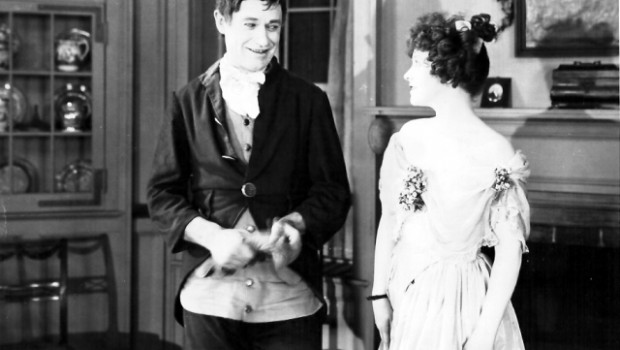
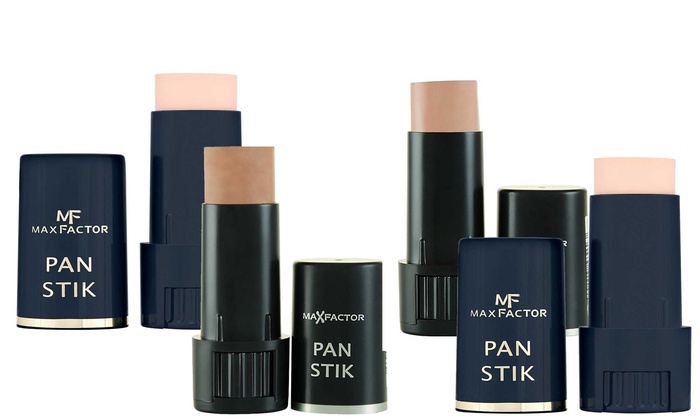
The Headless Horseman (still above) the first to be shot entirely on Panchromatic film. This, of course, leads to the need to improve the makeup used, the makeup needed coloured tints, something not found in the greasepaint of the previous decade. It would be Maksymilian Faktorowicz, whom we know better as Max Factor, was the first to introduce new makeup for the new film medium, the product, Pan Stik, which you can still get today (through eBay).
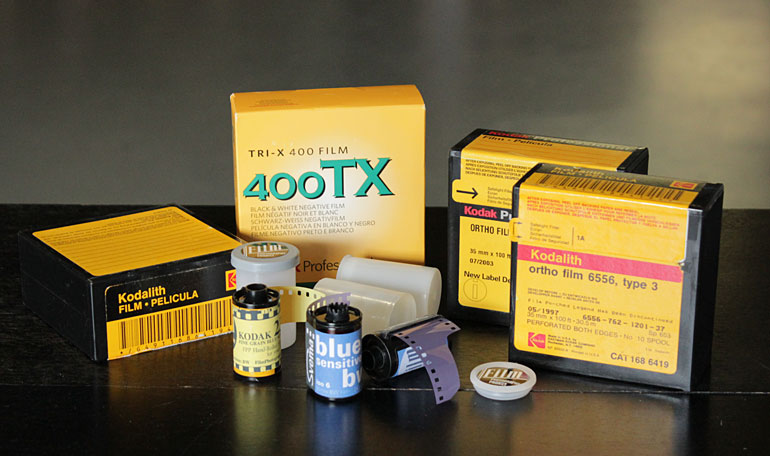
Most modern films are panchromatic, even if it doesn’t say it on the box. But most films have a preference on how they see each colour on the spectrum; some are a little greener sensitive other redder. But you also have X-Ray film, Blue and Red Sensitive films (Such as Eastman 5363). And IR film which is a special film with an extended sensitive into the Infrared spectrum.
So what does this sensitivity mean? Well if a film is more sensitive to certain colours on the light spectrum. The more sensitive the film is to that colour, the more active it will be. So a blue sensitive film like Eastman 5363 the blues will appear lighter, same with green and red. But what about monochromatic? This means that the film has a single colour or hue in the spectrum usually in a grey scale. Now, all black & white films are monochromatic but not all monochromatic films are panchromatic.
Adding in the Colour
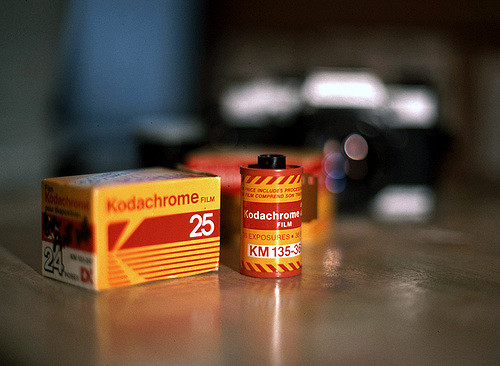
Additive Colour is something in the photographic field that isn’t that new. In fact, it’s been around since the invention of photography. And Mat’s here to add some colour into our black & white world. So back in the days of plate, you would have to hand colour your plates. This would be done through the use of speciality paints and a whole lot of patience. The next step in adding in colour would be adding filters (red, green, and blue) and three separate exposures. These are called colour separation process, and they’re still used today for some alternative processes. But the process was time-consuming and costly. It was the Lumière Brothers, Auguste and Louis who were no strangers to the motion picture industry, developed in 1903 the Autochrome Lumière process. The process used a panchromatic plate which little stipple marks with red, green, and blue dyes that acted as the filters. Of course, this lowered the sensitivity of the plate. Processing would be done at the brother’s workshop. The images that these plates produced was georgeous, in the sense that there’s little imperfections and are fragile. They require special handling and don’t last long out of the world. The world of additive colour remained an imperfect process, and several other processes built on the additive colour process created by the brothers. The most advanced additive colour process would come in 1935 with the introduction of Kodachrome which brought the additive colour process to the masses. These days the modern E-6 films like Ektachrome use a subtractive process which produces a far more perfect image and more consistent colours.
The Doctor is in – Doctor Heal Thyself.
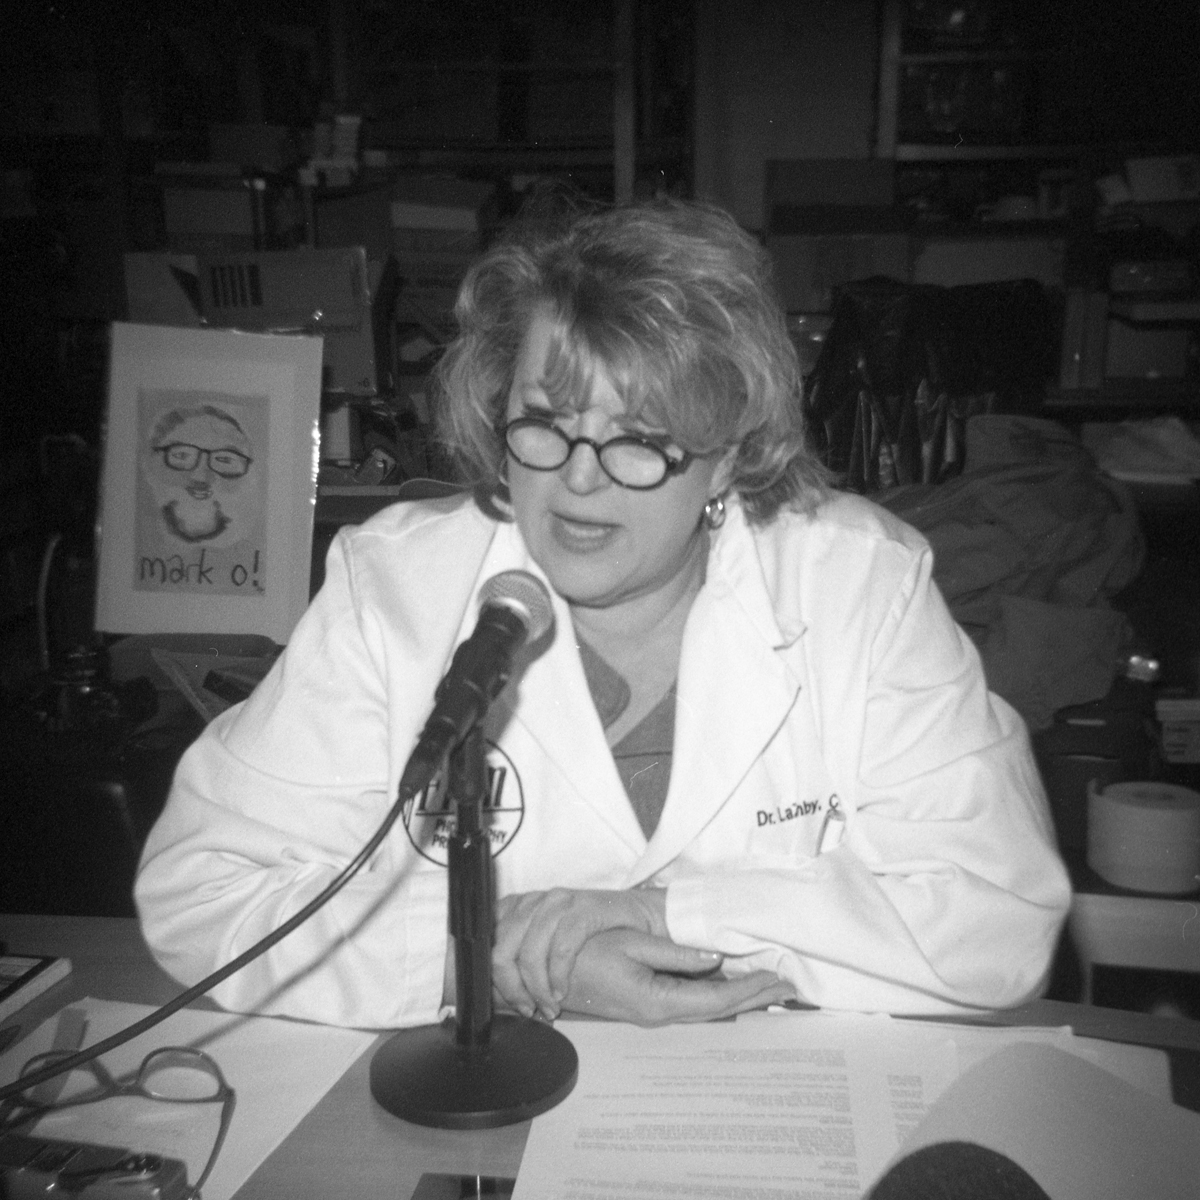
The doctor is in, and Leslie now has to come up with a solution to a trouble of her own! Over the past several months Leslie has been doing a lot of testing for the FPP and has just started to notice some inconsistencies in her chemistry. Knowing the film, chemistry, and cameras the one thing that seemed a bit off was a jar with several thermometers. This turned on the safe-light bulb, and Leslie went and tested them against each other. Using a digital medical thermometer as a baseline, it became clear that a couple of ‘em weren’t accurate anymore! So if you start seeing some inconsistencies and are sure of the chemistry, film, and camera, check your thermometers!
So next up in the office is patient number eight. Number Eight has a whole batch of bulk film and some 1970s expired Tri-X, and they want to know how to test the film! Leslie recommends starting with the bulk rolls and load up some short rolls of at least 10 frames. Using a single even lighted scene, then take ten shots of the same scene, starting with ASA/ISO-50 and work your way up a stop each time (100, 200, 400). Repeat until you have the roll done. You can have a subject in the frame holding up a sign with the film speed you shot the frame at, or just take careful notes on your own. Now when it comes to developing, you have to develop as if the film is fresh using a developer you know the results from. Then take a look at the images, decide which one looks best to you and record that on a piece of tape attached to the bulk loader so you know how to shoot and develop it! The biggest question about any expired film is how was it stored and also the box speed, the slower films such as Panatomic-X (ASA/ISO 32) will survive longer than a Tri-X that expired the same time as Panatomic. But the biggest advice is don’t sweat it, don’t overthink it, just shoot and have fun! And don’t worry about the failure.
And that’s it for this show, but don’t fret, we have a special bonus show coming on August 1st (that’s two weeks!) and of course on the weekend of August 3rd through 5th we have our sold out Walking Workshop in Findlay, Ohio! If you have any questions about the black & white and colour additive segments drop us a line at podcast@filmphotographyproject.com you can also send questions for the doctor, want to write us, our mailing address is Film Photography Podcast PO Box 264 Fair Lawn NJ 07410 make sure to check out our FPP Flickr Group as well!