Pack-Tastic! The Polaroid and Vivitar Instant Slide Printers
Guest blog by Nicholas Rapak
Whenever people talk about printing slides, there are always only two methods talked about: Scanning and printing, or optical printing to Ilfochrome (a.k.a Cibachrome). With Cibachrome being discontinued, many have lamented the loss of a purely optical method of printing slides. However, there is still one way to print your slides using a purely optical system. Presenting: The Polaroid and Vivitar Instant Slide Printers!
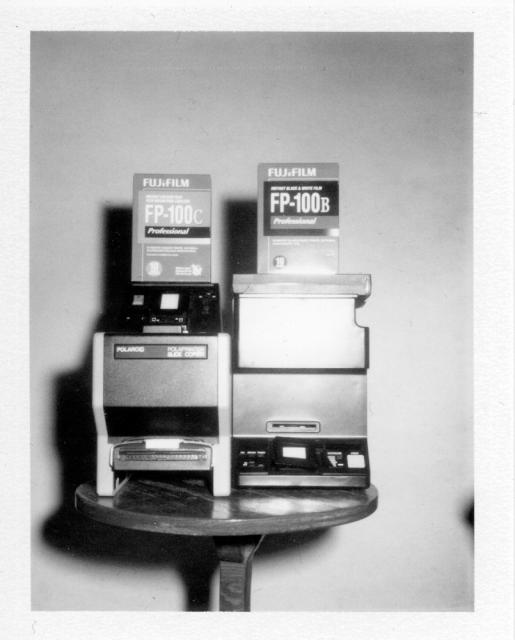
These printers print directly from a 35mm mounted slide onto a sheet of Polaroid (or Fuji) instant Packfilm. They were originally designed for Polaroid 669 color film, but they work fine with Fuji FP-100C. You can also get silver-based black and white prints using Polaroid 664 or Fuji FP-100B films. Unfortunately, these films were discontinued, but they are still available for a limited time from the FPP store ( http://filmphotographyproject.com/store/instant-film/polaroid-type-100-pack-film )!
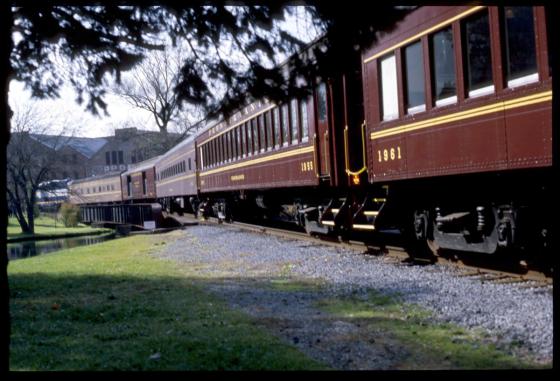
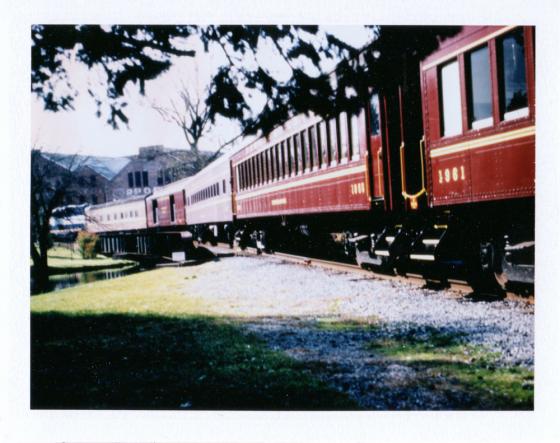
I will be printing the above slide, taken using Kodak Elite Chrome 100 with my Olympus OM-2N. (Fall Foliage train in Bellefonte, PA)
First up is the Polaroid “Polaprinter” slide copier. This printer uses AC power, so you have to be near an outlet to use it. When you first look at the top of the printer, you are presented with an array of knobs, lights and switches.
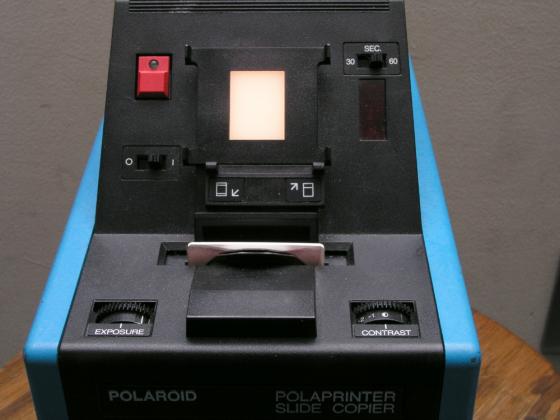
The first thing to do is turn the printer on. There’s an on/off switch below the big red button. Throw this switch and a white light will turn on in the middle of the printer, and after a few seconds a green light will blink in the middle of the big red button. This means you’re ready to go! Your first step is to lay your slide on top of the white light in the middle; this is to frame the slide since pack film does not have the same aspect ratio of a 35mm slide. Slide the black bar on the bottom until you see a framing you like, then pick up the slide and drop it in the slot right below the framer. If your printer has a metal filter holder, you might have to remove it for the slide to fit; just pull it straight up and it should come out.
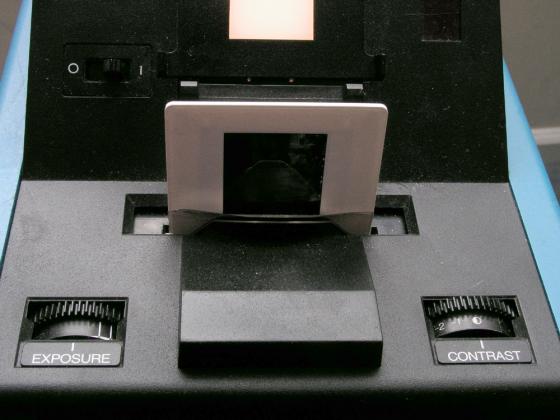
If you are shooting FP-100C, make sure that the exposure dial is set all the way to the black, otherwise you will have a very overexposed print. You do not need to move the contrast dial from the half-moon unless the image is very high in contrast.
Now you’re ready to print! Push the big red button; you should see a flash coming from the box, indicating a successful exposure. Now you can develop the film sitting in the bottom of the camera like a normal pack film shot (If you don’t know how to develop pack film, you can follow Mike’s tutorial here: http://filmphotographyproject.com/content/2010/10/how-use-polaroid-pack-camera )
And…after 90 seconds: A print emerges!
It is a little overexposed, but that’s due to FP-100C being a touch faster than 669.
The Vivitar Slide Printer is similar, but the controls are slightly different. First of all, the position of the film and slide is swapped, so the printer exposes up to the film on top. Second, it uses four C-size batteries, making it more portable than the Polaprinter. You turn it on, wait for the “ready” light to come on, and you’re ready to go. Frame the slide on the framer, using the bar above the blue button to move the slide. Move the exposure switch all the way down, put the slide in without flipping it, and push the blue button. If the shot worked, the green “OK” light will light. If the “OK” light doesn’t light, the photo will be underexposed. Wait for the “ready” light to come on again, and push the “print” button one more time. Now the print should be properly exposed. Pull the tabs on top, wait for the right amount of time, and peel apart your new print!
Just remember that each slide and each printer is different, and it may take you a few shots to get a feel of how the printer works.
Nicholas Rapak is an avid photographer, loves all-things analog and is long-time listener of The Film Photography Podcast! Nick on Flickr: