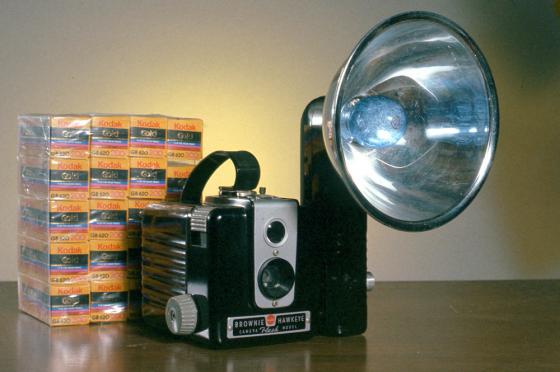
The Kodak Brownie Hawkeye Flash (KBHF) is a fun little 620 film camera introduced in the 1949. Loved for its retro styling and simplicity, the Brownie Hawkeye is a great addition to any film photographer’s collection. They can be bought for next to nothing and can shoot 120 film very easily.
One of the more interesting things to do with a KBFH is a modification called a lens flip. Kodak outfitted this camera with a simple single element lens that when oriented in the opposite direction will produce images with blurry borders and a focused center similar to the look of the trendy plastic cameras.
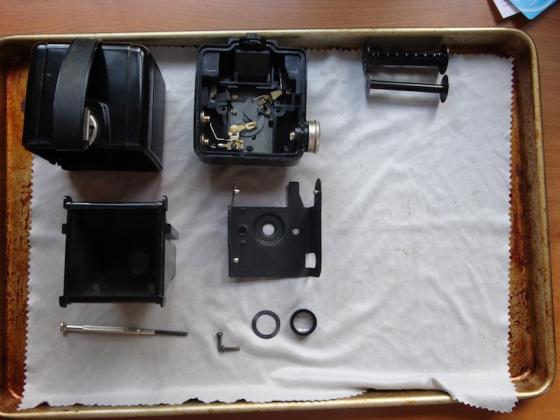
The supplies needed to complete a KBHF lens flip are few in number – a small Philips screwdriver, lens cloth, and canned air if you’ve got it. I like to work in a shallow baking pan in the event that a screw or small piece gets away from me. This will prevent it from getting all the way to the floor and vanishing, as they tend to do.
Begin by unlocking and removing the back of the camera. Place the camera on its face and look down into the camera for a screw on either side of the lens opening. Remove these two screws and the image mask can be removed, along with the lens and a washer. Now is the perfect time to blow out and clean the inside of the camera!
The normal orientation of the lens is to have the concave side facing your subject. Simply turn the lens around to the convex side and replace the washer and lens (making sure you have removed any dust or finger prints), then fit the image mask over the lens and tighten the screws. There. Done!

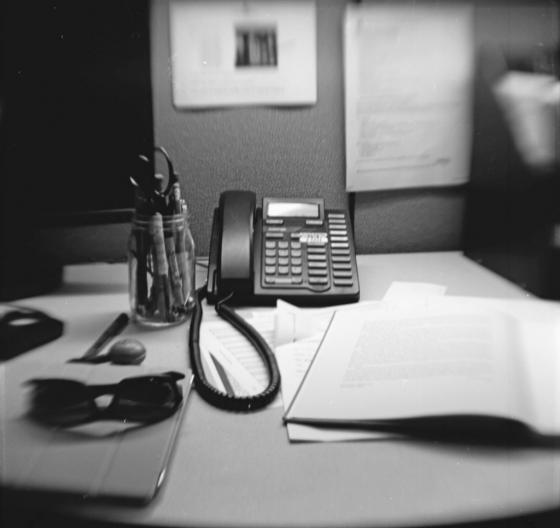
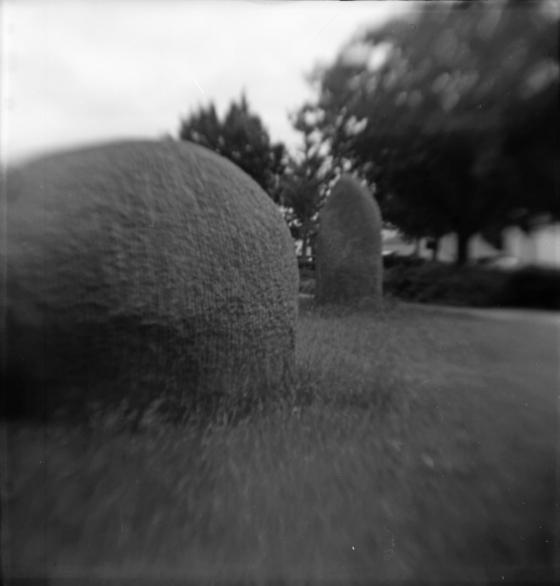
Exactly what your images will look like seems to very quite a bit. The amount of blurring or other effects will differ from camera to camera. The focused portion of the image should be at a distance somewhere near two to five feet. You will need to experiment to find the sweet spot with your KBHF. As you can tell from my images it’s a work in progress for me.
The beauty of this modification is that it can be done so cheaply. When compared to the price of a brand new plastic camera, the KBHF is significantly less expensive and, in my opinion, a more genuine approach to achieving the end result. Give yourself a pat on the back for completing a camera mod and embrace the quirkiness of carrying around this little gem of a camera.
Keith Derickson is a long-time Film Photography Podcast listener. When not listening to the FPP, Keith is busy with his wife and two children. Keith has been shooting film for ten years and considers himself a hobbyist, enjoying the tactile process of shooting film. He works at the University of Nebraska-Lincoln and his New Years resolution is to find a common voice in his photography.
All images by Keith Derickson
See also – Brian Moore’s blog on the Kodak Hawkeye Brownie!