
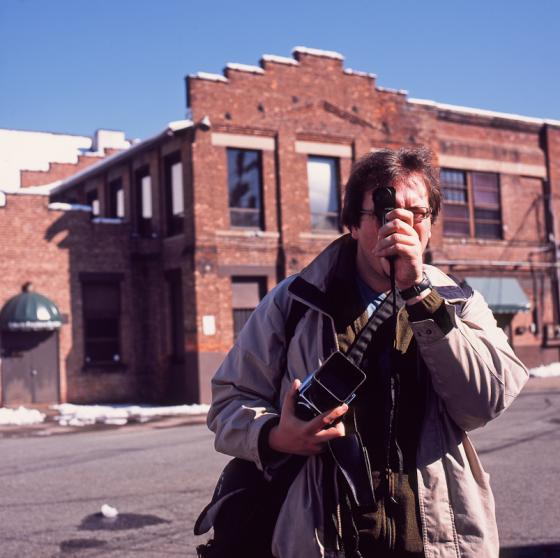
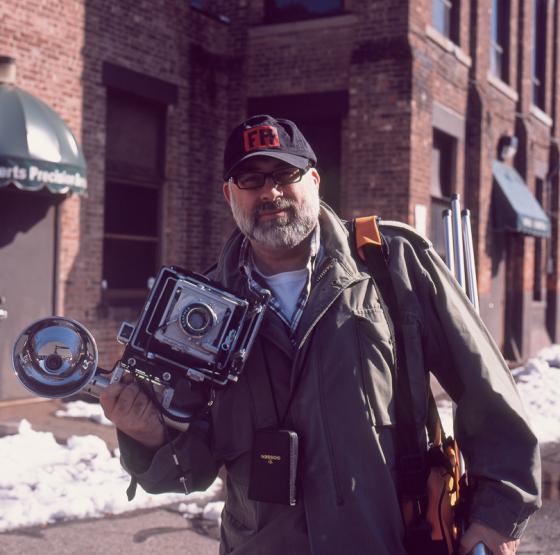
by Mat Marrash
Just a month after finishing a project in B&W film and nearly a year exploring new color negative films, I’m starting to notice just how little attention I’ve been paying to color slide film (insert sad face here). Each time I would start shooting some, the excitement of vivid colors on a positive image were quickly overtaken by thoughts of time wasted and more money spent. Regardless of overall quality, sending out your E-6 to be processed is time consuming, and can get expensive fast. And though I love my color lab for their quality and consistency, there are times where cutting out the middle man and saving a buck just sounds better. Enter in the world of home processing. For a minimum start-up cost, a warm sink, and about an hour of free time, you can start processing your own E-6 film at home.
Let’s start out with the issue of cost. In the US, the average cost of having a roll of 120 film processed in E-6, no prints, no scans, etc. is about $12. This isn’t including the two way shipping costs, and other mailing materials; if you use a pro lab service, this can be reduced significantly, but it’s still a consideration. If you’re shooting multiple rolls of film, E-6 labs often do not begin to offer price breaks on pricing until you’ve sent in 10+ rolls of film for processing. For today’s non-professional film shooters, this is quite a lot of film to have run at a time. By the time it’s all said and done, it costs ~$12/roll for 120 to be processed, $15 if you’re having the slides cut and mounted. With home processing, however, you control your own cost per roll rates, and with a little chemistry “stretching” can reduce your cost to little as $3/roll!
DO IT AT HOME – Interested yet? Well just in case you’re still on the fence about chemistry, materials, and space, don’t be. If you currently process your own B&W film, you’ve got almost all the supplies you need. If not, you’ll need a daylight processing tank such as a Two-Reel tank, a thermometer, and film squeegee, capable of handling whatever size films you plan on processing. Next, head over to the FPP on-line store to pick up our E6 Home Chemistry Kit. Don’t be scared, it is $31, but treat it nicely, and it’ll reward you with months of quality slides. Alongside the chemistry, if you don’t already, you’ll also need some 1 Quart Bottles, to keep the chemistry as oxygen tight as possible during storage. Lastly, and most important, is warm water. If your sink, shower, or tub has the ability to give you a modest, warm bath, you’re all set. If it can maintain said warm water within +/- 1 degree Fahrenheit, so much the better.
So this is it, you’ve got your chemistry mixed, bottled, and film loaded, all that’s standing between you and some tasty chromes is temperature and time. Here’s what you need to do: (all of this and more can be found in the data sheet)
Heat the Chemistry – Draw a warm bath and try to keep the bottled chemistry covered 50+%. During the wait to get the 1st developer to temperature, drop your thermometer in and go load your exposed roll of film into the tank.
Prewash the Film – 1-2 minutes of water @ whatever temperature you will be developing at. I always use 105 degrees Fahrenheit, but you can go as low as 70. Be prepared for awesome looking rinse water!
1st Developer – This is the most temperature critical step, so either wait until the chemistry is just a tad bit over your temperature and add it in, or add it as soon as it comes to temp, then bathe the tank periodically between agitation. Color film agitation is much the same as B&W. Vigorously agitate and tap for air bubbles for initial 15 seconds, with 5 inversions every 30 seconds thereafter to completion.
Rinse – With water roughly the same temperature as your developer, fill and empty the tank at least 7 times.
Color Developer – Slightly less temperature dependent, this step should be carried out as close to developing temperature as possible, with fluctuations not exceeding +/- 5 degrees Fahrenheit. Agitate same as 1st developer, and go to completion.
Rinse – Same as above.
Blix – Unlike traditional 6+ step E-6 kits, bleaching and fixer have been combined to a simple, single “Blix” step. The least temperature sensitive step of the process, blixing can be done with the daylight tank open, but just watch your time.
Final Wash – It’s happened to the best of us, you’re too excited, you just can’t wait, and want a sneak peak of this magical E-6 process. You only have to contain your excitement for 5 minutes more, you can make it!
Drying – Squeegee your film, at this point it isn’t completely stabilized, and may appear a faint navy blue where the density should be jet black. Don’t worry, this is normal. Just try not to touch the emulsion side, hang up to dry, and use only air drying without heat! These films are very sensitive to hot air, and will become reticulated beyond saving if too much heat hits them early on.
This may seem like a long, drawn-out process, and some may argue that it is. But like anything else photographically worth doing, this requires patience and practice. Start out with a fun roll of E-6 shot through a Lomography camera or a batch testing roll (like you’ll see throughout this article), and work your film up along with your confidence level. As stated above, you can “stretch out” this kit by processing more than the 10 rolls per kit stated in the FPP data sheet, but be sure to compensate with your processing times accordingly. The images on this blog are all out of roll #17 from my first FPP kit, so always take recommendations with a grain of salt.
Need some E-6 film? Write in to your pals at the FPP! We’d love to hear that you’re trying out home developing, so just shoot us an email. And if you like what you see here, you can also show us your support by heading over to the “Donate” tab at the upper right hand corner of this page.
If you have any questions about home E-6 or you’d just like to let FPP know about your experiences, feel free to email me or just leave your comment below. As always, happy shooting, and long live film!
The FPP LOVES Color Slide Film! Check out The FPP On-Line Store
FPP’s E6 Kit available here!
About Mat Marrash
Starting in June 2010, Mat Marrash, a Northwest Ohio native, picked up a medium format film camera and challenged himself to shoot at least one roll of film per week. In the weeks and months following, a healthy interest soon became a lifestyle. During his project, Mat tried out a variety of traditional formats including: 35mm, medium format, large format, instant photography, and even alternative process darkroom printing.
Mat co-hosts The Film Photography Podcast (FPP)